Have you ever decorated one of your planters for Halloween? This is a first for me, but you’re going to want to check this out because it is so cute the way it turned out! 🎃
First of all, most all your items are from Dollar Tree. They have a lot of great stuff there! The supplies I used are below….
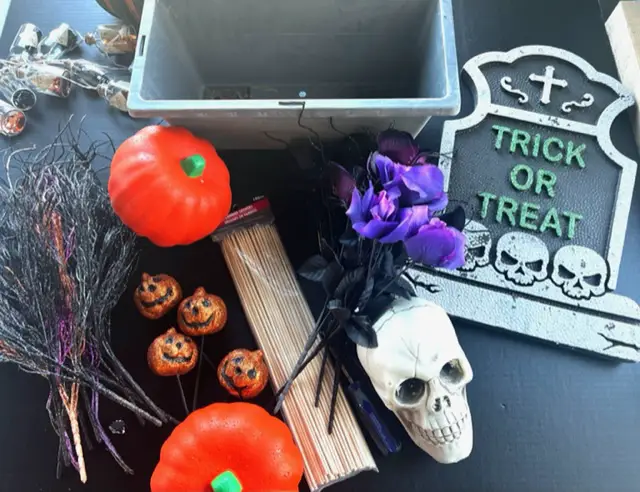
Supplies
Planter
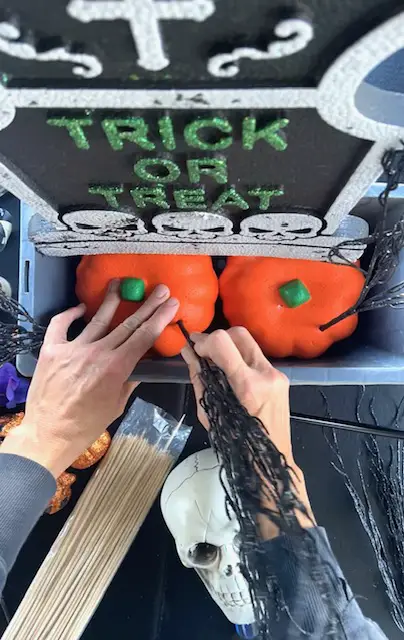
Dollar Tree Glitter Sprigs
Dollar Tree Halloween Floral
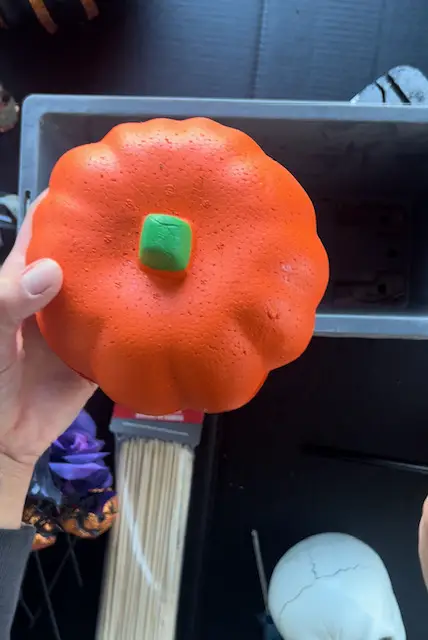
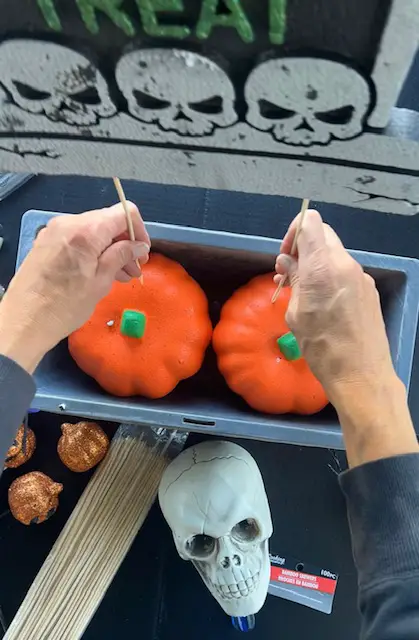
Dollar Tree 2-4 Styrofoam Pumpkins
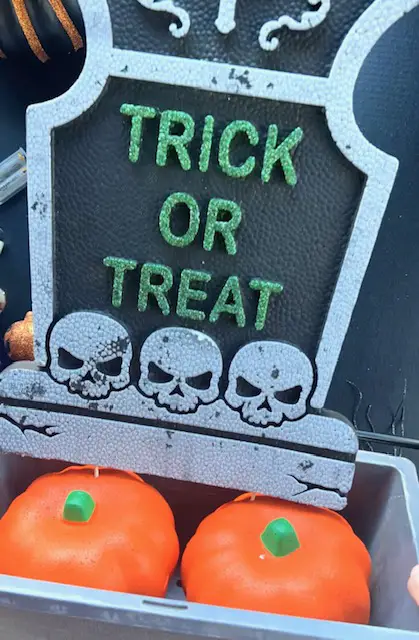
Dollar Tree 1 Styrofoam Grave Yard Sign
Dollar Tree Glitter Pumpkin Sticks
Bamboo Skewers
LED Lights (optional)
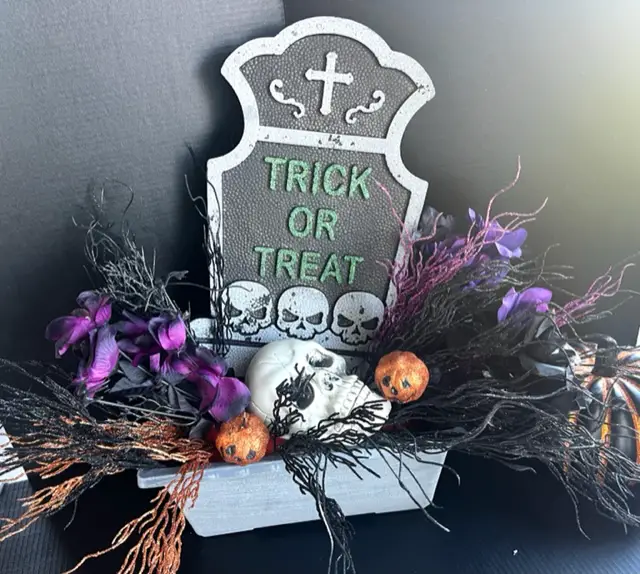
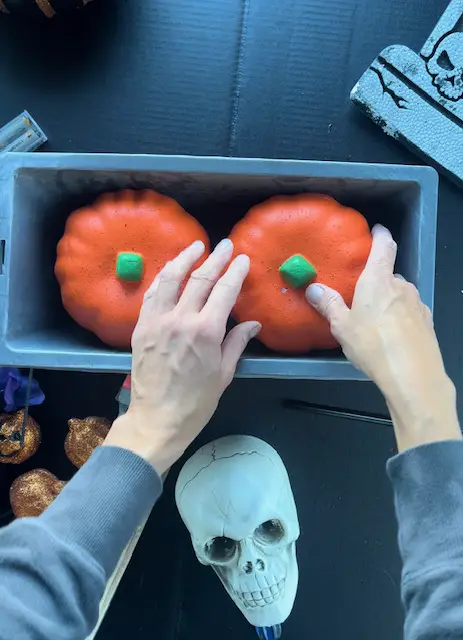
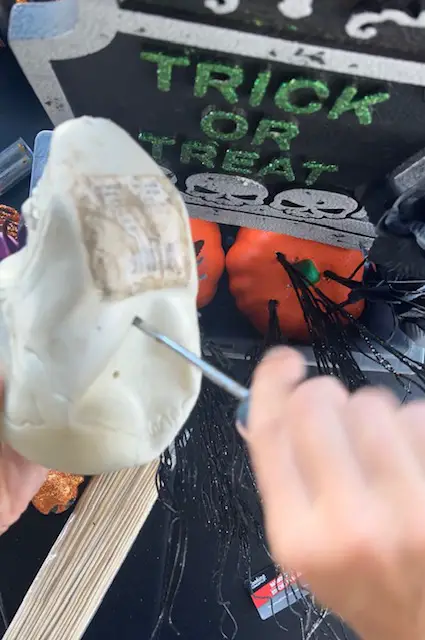
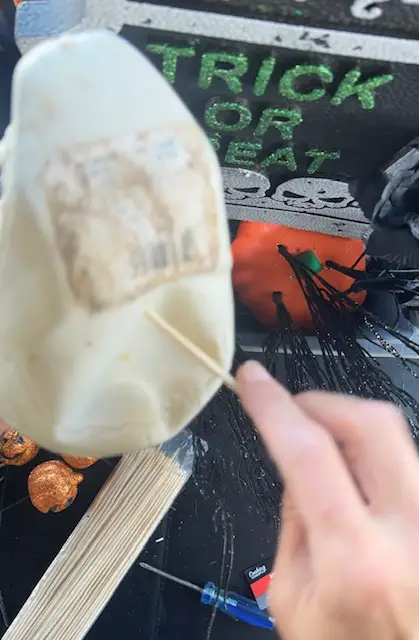
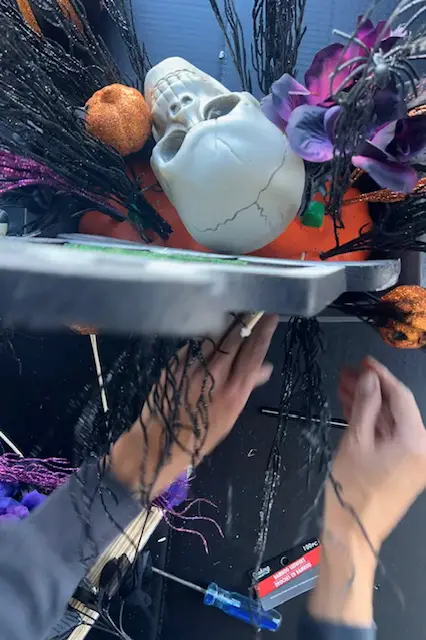
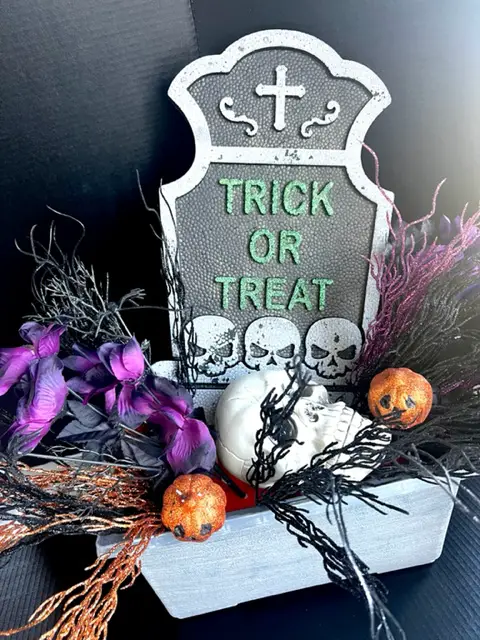
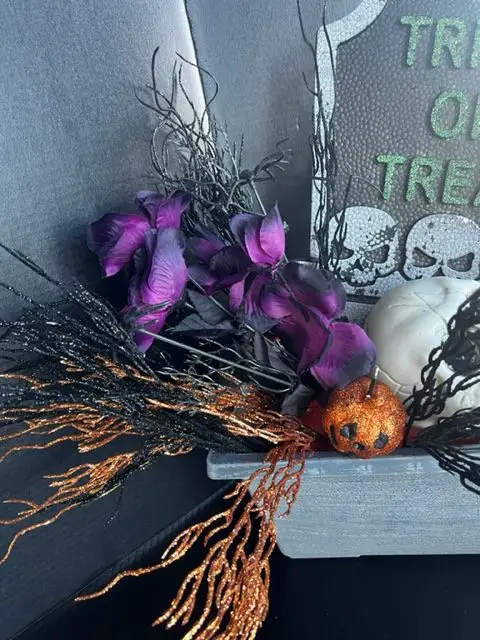
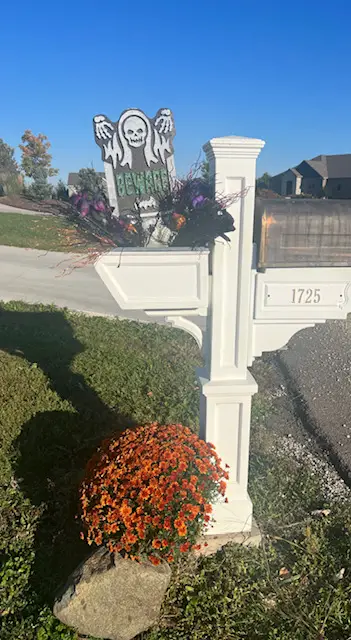
Place enough pumpkins in the bottom of the planter to fit sturdy in the base. Use 2 of the bamboo sticks in the bottom of the grave stone. Be careful that it goes up straight and not out the back.Stick the other end of the sticks in the pumpkins to make it sturdy.Once your grave stone is straight and where you want it you will use the glitter sprigs and poke them also in the pumpkin. The pumpkin is hollow inside so they will go in pretty easy.Next for the skeleton – you will use a screwdriver and poke a hole in the bottom so you have a place for the skewer….but be careful with this part!!Next stick the skewer in the hole you made with the screwdriver.Don’t forget to accent the back especially if the planter is in a spot that you are going to see it from all angles! Add some florals to the back and you can cover up and skewers that might be showing through.And taa – daaahhh! It is finished!Are you loving it??!?!?! Here are some more pictures and so many more ways to show it. You can really use this idea anywhere – planters, mailboxes (like me) window boxes, indoor arrangement for a table….so many ideas with just a few cute inexpensive items!
How cute right? And SO festive for all the drive-bys!
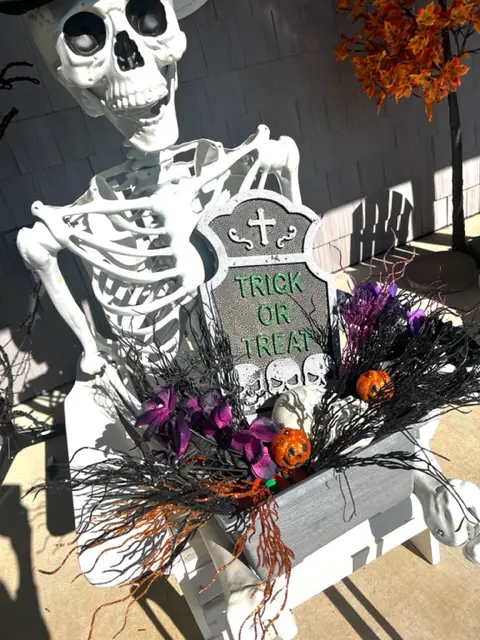
Or decorate a handheld basket for your skeleton!
Here is the quick video to watch on how I put it together. Enjoy!
If you want another idea to use these Styrofoam pumpkins from Dollar Tree, you can check this blog post out here!
Have a happy time crafting the rest of the month for Halloween!