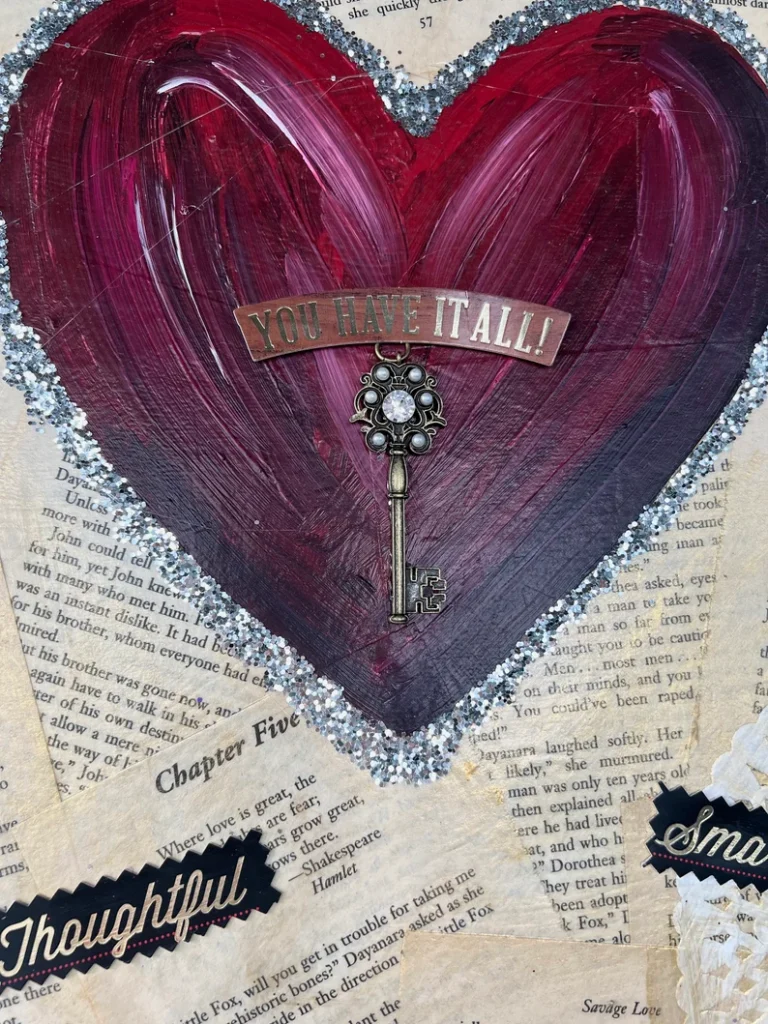
Is Your Valentine’s Day Feeling Lackluster? Revamp It with This Shabby Sign!
As the trend of do-it-yourself projects continues to gain popularity, it’s not surprising that handmade décor has become a key player in the market. And with Valentine’s Day just around the corner, it’s the perfect time to add a little love to your home with a shabby valentine sign. This charming and versatile piece can be customized to fit any style and budget, making it a must-have for any DIY enthusiast. In this article, we will dive into the world of shabby valentine signs, exploring their history, design options and providing step-by-step instructions on how to create your very own. Get ready to unleash your creativity and add a touch of rustic charm to your Valentine’s Day celebrations.
SUPPLIES NEEDED
4 Scrap book papers
XOXO – Pre-painted white letters
Pre-painted Wooden Sign
Glue Stick
Glue Gun
Scrap Ribbon – 3 or 4 different piece
FINDING THE PERFECT SCRAP BOOK PAPERS
I found 4 of the cutest pink scrap book papers that I could find. If you want to simplify this process, I highly suggest ordering the same booklet I used. I got mine at Walmart for doubles the price but you can use this link HERE for the exact book I got. I LOVE about 99% of the papers in here. They’re all so cute! And so many cute ones to use for Easter which will be coming up quick!
I chose 2 pinkish and 2 redish colors because I wanted a variety but if you want all pinks or just reds you can do that too! Just maybe mix up the patterns.

So I picked a corner and traced one “X”…..

Picked one corner for saving paper purposes (in case you were wondering) and traced an “O”…..


I repeated the process above with the other X and O. Once everything was cut out, I lined them up how I wanted them to go on their wooden letters.

I placed my wooden letters out how I wanted them laid out…


Then I glued with a glue stick the top of the wooden letter and glued my first “X” on.

I repeated the same process with the rest of the letters.

I glued down the wooden letters to the board. I made my a little crooked and I loved this! I then grabbed a thick piece of burlap ribbon for my base layer of my bow.


Then 3 other pieces of different ribbon. I took the one thinner piece of rick rack and pinched the center and tied all 3 together.


I got into my grandmothers famous button tin that I was so lucky to get out of all the family and grabbed a couple out of it and glued it with a glue gun in the center of my bow.

I just love the way the bow turned out and I think it just makes the shabby sign!


If you want to check out the video on how we made this you can see it here:


Now go out and grab the supplies listed above and get your glue gun hot and ready so you can make one of these before Valentine’s is here and gone!
If you want to check out a few other blog posts you can see them here:
Vintage Turquoise Valentine Sign DIY – SAM Designs (samdesignsshop.com)

Valentine Canvas – You Have it All – SAM Designs (samdesignsshop.com)

Love Door Hanger Sign – SAM Designs (samdesignsshop.com)

*********************************************************
Follow me on your my social media channels at:
FACEBOOK – www.facebook.com/samdesigns22
INSTAGRAM – @sam_designs22
AMAZON – Amazon.com
ETSY – www.etsy.com/shop/samdesigns22
Love,
SAM Designs


